
Central Heating Leak Detection in Epping
A central heating leak in Epping was located beneath the kitchen floor using acoustic listening, pressure testing, thermal imaging, and visual inspection, with central heating leak detection confirming a split pipe running from the boiler beneath the kitchen units and screed. Found by engineer Mark Pavitt.




The original leak detection company, est. 2011
Facts
| Location | Epping |
|---|---|
| County | Essex |
| Leak Type | Central Heating Leak Detection |
| Property Type | Residential property |
| Detection Method | Acoustic Listening Equipment, Pressure Testing, Thermal Imaging, Visual Inspection |
| Outcome | Split 22mm heating pipe found and replaced beneath kitchen floor. |
Symptoms
A property in CM16 had a central heating system that had lost all pressure and was failing to hold any charge. The heating system was completely unable to maintain pressure, indicating an active leak somewhere within the pipework.
The scale of the pressure loss pointed to a significant failure rather than a minor weep or joint seep.
The suspected area was beneath the boiler and kitchen units, though the exact location and cause were unknown without further investigation. Visible damage to the screed, walls, and flooring discovered later confirmed the leak had been active long enough to cause material harm to the surrounding structure.
Central heating leak detection was required to trace the source before any repair could be planned.
Because the pipework runs beneath screed and behind fitted kitchen units, there was no straightforward visual route to the fault. A structured diagnostic approach using multiple methods was needed to narrow down the leak position without unnecessary destructive access.
Methods Used

The investigation for this central heating leak detection job followed a staged process, beginning with a visual inspection and progressing to acoustic testing and then compressed air testing with water present. Water was first run into the system to restore a testable state, and an acoustic test was carried out across the floor.
A slight irregularity was detected beneath the boiler area and kitchen units, giving an initial indication of the leak zone.
To confirm the location with greater certainty, an air compressor was connected to the heating system and compressed air was introduced alongside water. This produced an immediate pressure drop and amplified the sound irregularities already identified, concentrating them under the boiler and kitchen units.
The plinth below the kitchen units was removed, revealing physical evidence of leak damage on the screed and walls. The dishwasher was removed to allow access, and an area of screed was lifted to expose the pipework at the suspected leak point.
Acoustic Listening Equipment. Used to detect sound irregularities transmitted through the floor, which identified the boiler and kitchen unit area as the probable leak zone.
Pressure Testing. Compressed air was introduced to the water-filled heating system to produce a measurable pressure drop and amplify audible leak signals, confirming the fault location before screed was lifted.
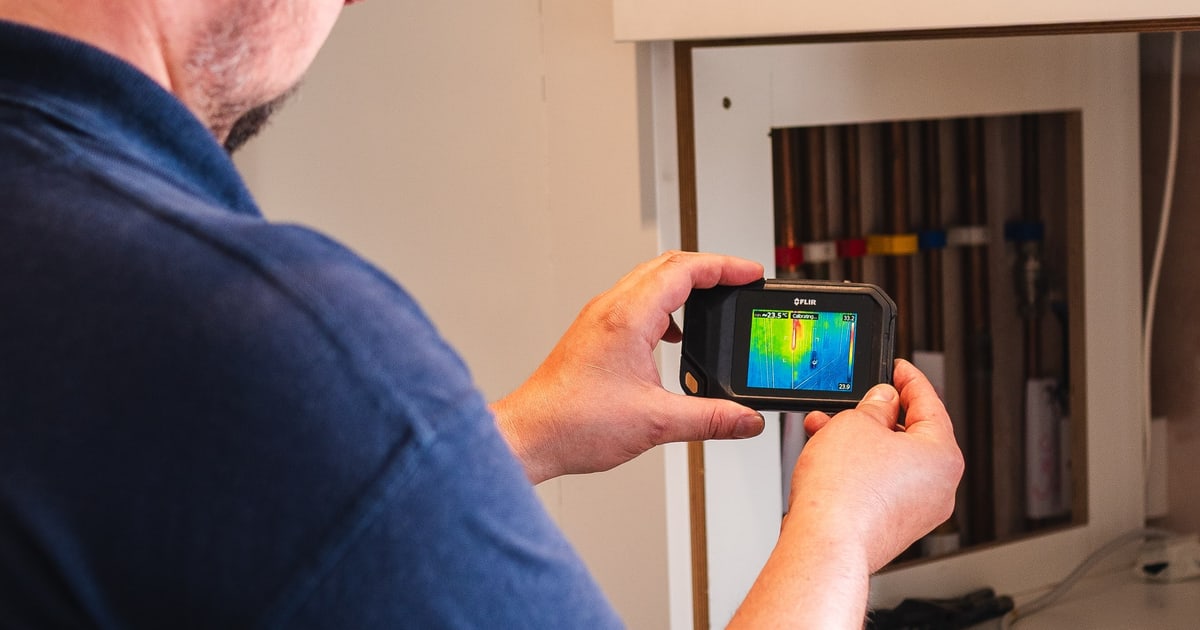
Thermal Imaging. Applied during the investigation to support identification of areas affected by heat or moisture from the leaking heating pipework.
Visual Inspection. Carried out on arrival to assess the system's condition and confirmed the heating system was holding no pressure, establishing that an active leak was present.
Investigation Process
-
1Visual inspection on arrival
The heating system was inspected visually on arrival. The system was found to be holding no pressure at all.
-
2Water introduced and acoustic test carried out
Water was run into the heating system to restore a testable state. An acoustic test was performed and detected a slight irregularity beneath the boiler area and kitchen units.
-
3Compressed air test with water present
An air compressor was connected to the heating system and compressed air was added continuously with water present. An immediate pressure drop occurred and loud sound irregularities were identified from beneath the boiler and kitchen units.
-
4Kitchen plinth removed and damage assessed
The plinth below the kitchen units was removed. Leak evidence and damage were found on the screed, walls, and flooring beneath.
-
5Dishwasher removed and screed lifted
The dishwasher was removed to allow access. An area of screed was then lifted to expose the pipework at the confirmed leak location.
-
6Failed pipe identified
A 22mm plastic heating pipe running from the boiler was exposed beneath the screed. It had a split along the straight length of the pipe.
-
7Pipe section renewed
The failed section of 22mm plastic heating pipework was renewed in full.
-
8Post-repair pressure test
The repaired system was tested at 4.0 bar of compressed air over 30 minutes. No drop in pressure was recorded.
-
9System refilled and heat cycle run
The heating system was refilled and vented. A full heat cycle was run and the system passed without issue.
-
10Customer advised on remedial works
The customer was advised to contact their insurance company to arrange remedial works covering wall and floor repairs, and professional drying of all leak-affected areas.
Result & Outcome

The leak was located beneath the kitchen floor, directly under the boiler and kitchen units. Once the screed was lifted, the cause was clear: a 22mm plastic heating pipe running from the boiler had developed a split along its straight length. This type of failure causes continuous pressure loss and, over time, significant water ingress into the surrounding screed, walls, and flooring — all of which were visibly damaged at this property in CM16.
The failed pipe section was renewed and the repair was verified by holding 4.0 bar of compressed air for 30 minutes with no pressure drop recorded. The heating system was then refilled, vented, and run through a full heat cycle, which it passed. The repair itself is complete and the system is functional.
The water damage to the screed, walls, and flooring requires separate remedial attention. As is standard in central heating leak detection cases where prolonged leaks have caused structural saturation, the customer has been advised to report to their insurer to arrange professional drying and reinstatement of the affected areas.
Suspect a leak at your property?
ADI Leak Detection specialists investigate leaks like this across the UK every day. No find, no fee terms apply on qualifying jobs.