
Internal Cold Mains Leak Detection in Peacehaven
A cold mains leak in Peacehaven was located using visual inspection, a damp meter, acoustic listening, thermal imaging, and pressure testing, with water mains leak detection confirming the failed pipe section beneath the floor at the junction of the WC and hallway before any boards were lifted. The work was carried out by engineer Mark Pavitt.




The original leak detection company, est. 2011
Facts
| Location | Peacehaven |
|---|---|
| County | East Sussex |
| Leak Type | Water Mains Leak Detection |
| Property Type | Residential property |
| Detection Method | Visual Inspection, Damp Meter, Acoustic Listening Equipment, Thermal Imaging, Pressure Testing |
| Outcome | Failed 15mm mains supply located and renewed under closet WC floor. |
Symptoms

At a property in BN10, leak evidence had begun rising through the floor of a closet WC. Visible damage was present on walls, woodwork, and flooring across both the closet WC and the adjoining hallway, indicating a subsurface leak that had been active long enough to cause widespread saturation.
Because the damage was spread across two areas with no obvious above-floor source, internal leak detection was required to trace the origin before any repair work could begin. The mains supply had already been isolated prior to arrival, meaning the active leak source needed to be confirmed through methodical testing rather than surface observation alone.
The extent of the damp and structural damage to the flooring and woodwork pointed to a pressurised supply leak rather than a drainage issue, making it necessary to reinstate the mains supply under controlled conditions to confirm the source and location.
Methods Used

The investigation began with a visual inspection and damp meter survey across all affected areas in the closet WC and hallway, establishing the extent and distribution of moisture damage. With maximum damp readings recorded on floors, walls, and woodwork in both spaces, the mains supply was carefully reinstated to allow active observation — water was immediately seen rising through the tiled floor at the junction of the two areas.
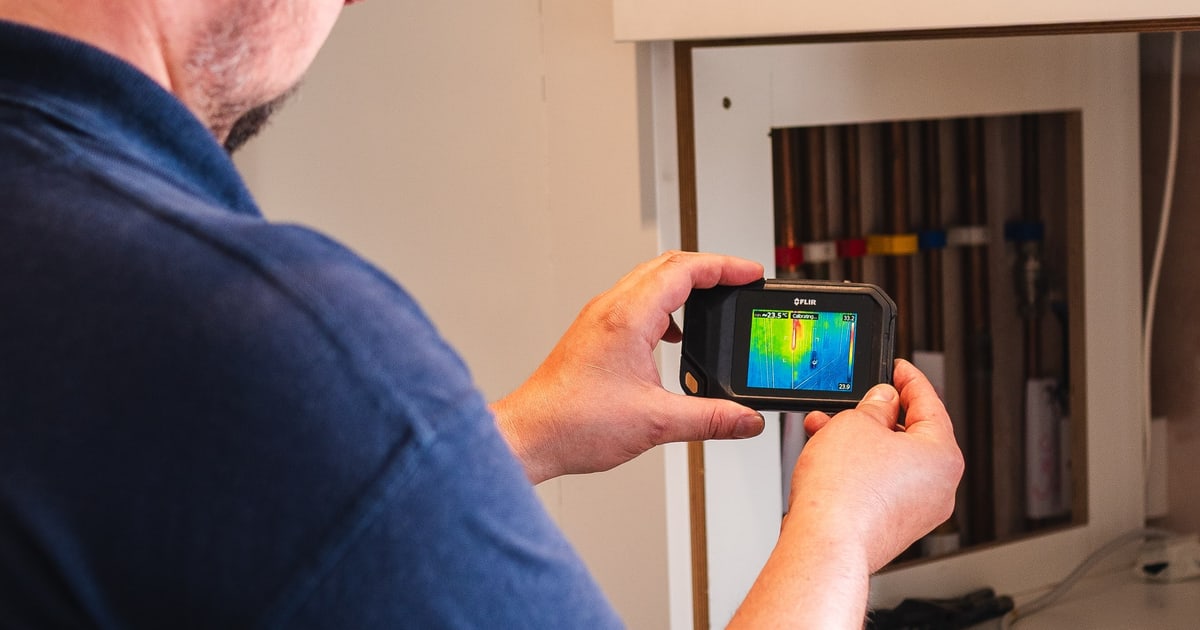
Acoustic testing confirmed an irregularity from that same location, and thermal imaging identified a thermal mass consistent with pressurised water pooling around localised heating pipework beneath the floor. This combination of methods, standard practice in internal leak detection, narrowed the source to a specific section of 15mm copper mains supply running beneath the central heating pipework, allowing tiles and screed to be removed with precision.
Visual Inspection. Used on arrival to identify and document the distribution of leak damage — staining, saturation, and deterioration — across walls, woodwork, and flooring in the closet WC and hallway.
Damp Meter. Deployed throughout both affected areas to measure moisture levels, returning maximum readings on the flooring, walls, and woodwork in the WC and hallway and confirming the extent of water ingress.
Acoustic Listening Equipment. Applied after the mains supply was reinstated to detect acoustic irregularities, confirming a signal consistent with a pressurised pipe failure at the junction of the hallway and closet WC floor.
Thermal Imaging. Used to identify a thermal mass caused by water from the failed mains supply pooling around the localised central heating pipework beneath the floor, corroborating the acoustic findings.
Pressure Testing. Carried out on completion of the repair to verify the renewed section of mains supply was sound and that no further leaks were present.
Investigation Process
-
1Visual inspection on arrival
The engineer visually inspected all affected areas, identifying leak damage — including staining and deterioration — on walls, woodwork, and flooring in both the closet WC and the hallway.
-
2Damp meter survey
A damp meter test was carried out throughout both spaces. Maximum readings were recorded on the flooring, walls, and woodwork in the WC and hallway, confirming widespread moisture saturation.
-
3Mains supply reinstated
The previously isolated mains supply was carefully reinstated. Water was immediately observed rising through the tiled floor at the junction of the hallway and closet WC, identifying the active leak zone.
-
4Acoustic test
An acoustic test was carried out over the area. An irregularity was detected from the same location where water had been seen rising, consistent with a pressurised pipe failure beneath the floor.
-
5Thermal imaging
Thermal imaging identified a thermal mass beneath the floor, caused by water from the failed mains supply pooling around localised central heating pipework in that area.
-
6Mains isolated, floor opened
The mains supply was re-isolated and tiles and screed were removed to gain access. A failed 15mm copper mains supply was discovered running beneath the central heating pipework.
-
7Pipe section renewed
The failed section of 15mm copper mains supply was renewed, with the replacement routed correctly beneath the central heating pipework.
-
8Completion test and customer advice
The repair was pressure tested on completion and passed. The customer was advised to contact their insurance company to arrange professional drying and all remedial works under their trace and access policy.
Result & Outcome

The leak was traced to a failed section of 15mm copper mains supply running beneath the central heating pipework at the junction of the closet WC and hallway floor. The combination of acoustic listening and thermal imaging allowed the precise area to be identified before any floor was lifted, keeping the access opening targeted and limited.
Once exposed, the failed pipe section was renewed and the repair was tested under pressure on completion — all passed. The internal leak detection process confirmed the leak source conclusively, meaning the customer now has a clear, documented record of the cause and location to support an insurance claim.
The customer was advised to send the engineer's report to their insurance company to arrange all remedial works, including professionally drying the affected areas. All works fall within the trace and access element of a standard buildings insurance policy.
Suspect a leak at your property?
ADI Leak Detection specialists investigate leaks like this across the UK every day. No find, no fee terms apply on qualifying jobs.