
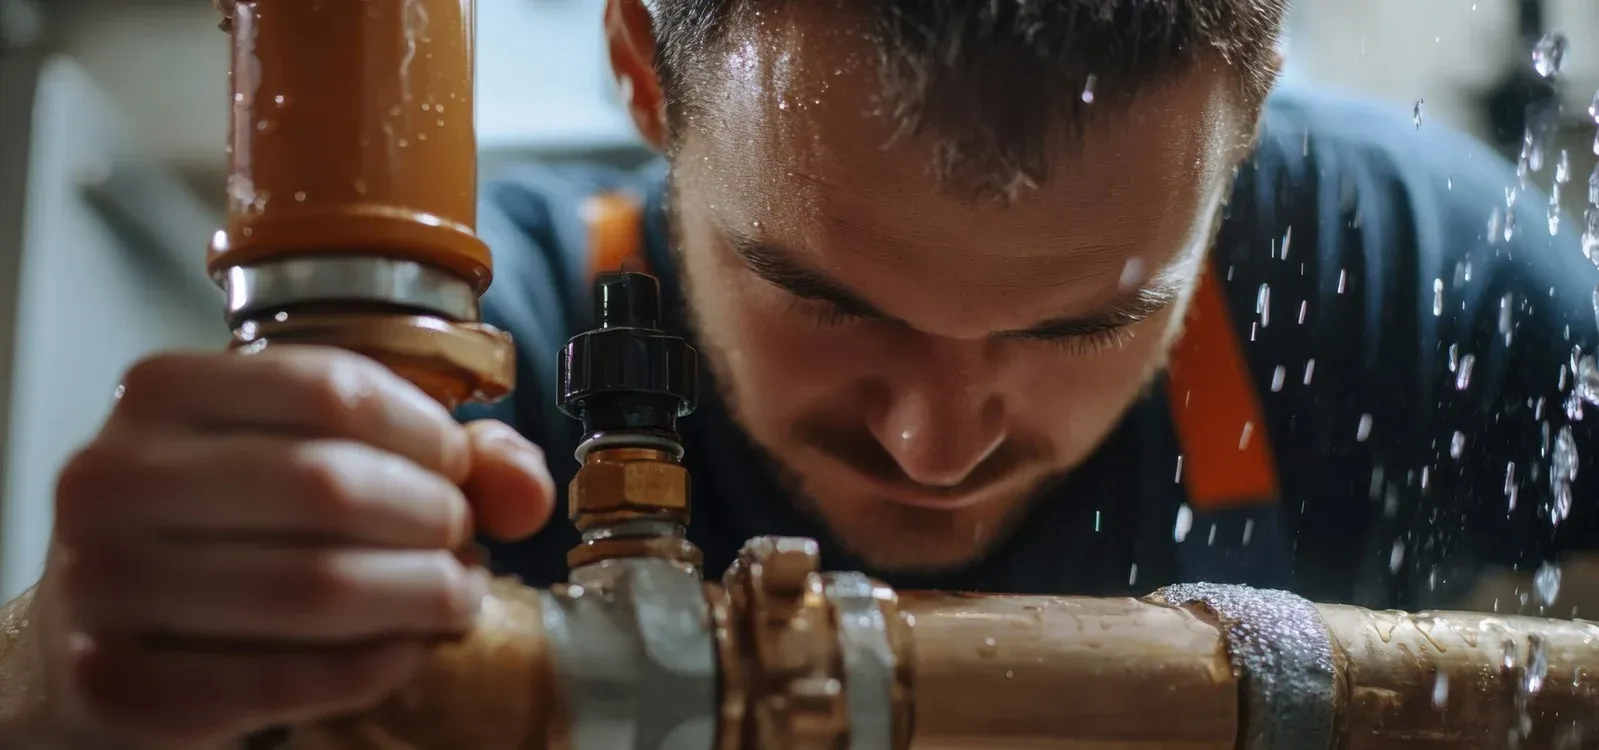
Water Mains Leak Detection in Herne Bay
A cold water mains leak in Herne Bay was located using an endoscope camera, tracer gas, a damp meter, and pressure testing as part of water mains leak detection that pinpointed a faulty push-fit fitting beneath a tiled bathroom floor. Found by engineer Aaron Baker.
 CIPHE accredited
 WIAPS member


Facts
| Location | Herne Bay |
|---|---|
| County | Kent |
| Leak Type | Water Mains Leak Detection |
| Property Type | Residential property |
| Detection Method | Endoscope Camera, Tracer Gas, Damp Meter, Pressure Testing |
| Outcome | Leak found beneath bathroom floor tiles, repaired same day. |
Symptoms
The property in CT6 is a detached bungalow. No visible signs of water damage were present on arrival, but the water meter was registering consumption despite the supply being isolated at the external stopcock, indicating an active leak somewhere within the property.
The customer had already disconnected the basin in the bathroom and partially moved the vanity unit away from the wall before the engineer arrived.
With no obvious surface evidence pointing to the source, internal leak detection was required to trace the leak without unnecessary damage to the property. The bathroom was the primary area of concern given the customer's preparatory actions, but the precise location and cause of the leak needed to be confirmed through systematic investigation.
Methods Used
The water supply was restored at the external main stopcock to confirm active meter movement, establishing that a live leak was present. With no visible signs of damage inside the property, internal leak detection was carried out methodically, starting in the bathroom where the customer had already begun to investigate.
An endoscope camera was used to inspect beneath the tiled bathroom floor without requiring an initial full excavation, which allowed the leaking fitting to be pinpointed before any significant disruption was made to the floor.
Once the fitting was located and excavated, pressure testing was carried out across the entire property to confirm no further leaks were present. Tracer gas testing was also conducted as part of the process to ensure nothing had been missed.
The vanity unit and basin were refitted and retested before the job was signed off.
Endoscope Camera. Used to inspect the void beneath the tiled bathroom floor, identifying the leaking push-fit fitting without requiring a full excavation upfront.
Tracer Gas. Applied after the repair to test the full property pipework, confirming no further leak points were present — no tracer gas was detected.
Damp Meter. Used during the investigation to assess moisture levels in the bathroom area and support the identification of the affected zone.
Pressure Testing. Carried out across the entire property following the repair, confirming no further pressure drops and no remaining leaks.
Investigation Process
-
1Arrival and initial assessment
The engineer arrived at the property in CT6 and noted no visible signs of water damage. The customer had already disconnected the basin and moved the vanity unit away from the bathroom wall.
-
2Water supply restored
The water supply was restored at the external main stopcock. The water meter immediately began registering consumption, confirming an active leak was present.
-
3Endoscope inspection beneath bathroom floor
An endoscope camera was deployed to inspect beneath the tiled bathroom floor. A leaking push-fit fitting was identified without requiring a full excavation at this stage.
-
4Excavation of tiled floor
The tiled floor was excavated to access the leaking fitting. During this process it was found that the pipework was 3/4 inch copper rather than 22mm, which had caused the push-fit fitting to fail.
-
5Repair carried out
The affected section of pipe was repaired using a 22mm x 3/4 inch compression straight fitting and a 22mm x 15mm push-fit straight coupler to correctly marry the mismatched pipework.
-
6Full property pressure test and tracer gas check
Pressure testing was conducted across the entire property with no pressure drops recorded. Tracer gas testing confirmed no further leaks were present anywhere in the system.
-
7Vanity unit and basin refitted
The vanity unit and basin were refitted and retested for leaks. No issues were found, and the job was completed.
Result & Outcome
The leak was traced to a push-fit fitting located beneath the tiled bathroom floor. The root cause was a mismatched pipe size — the existing pipework was 3/4 inch copper rather than 22mm, meaning the push-fit fitting had never formed a proper seal and was destined to fail. The endoscope camera allowed the fitting to be pinpointed precisely before excavation began, limiting the area of floor that needed to be lifted.
The repair was completed using a compression fitting sized correctly for the 3/4 inch copper pipe, combined with a push-fit coupler to transition to the 22mm system. Following the repair, pressure testing across the full property showed no further pressure drops, and tracer gas testing detected nothing — confirming the repair was complete and no secondary leaks had been overlooked.
For a job requiring internal leak detection in a property with no visible surface damage, the outcome was definitive: a single leak source identified, correctly repaired, and the full system verified. The customer was advised to arrange re-grouting of the bathroom tiles now that the excavation and tile re-laying are complete.
Suspect a leak at your property?
ADI Leak Detection specialists investigate leaks like this across the UK every day. No find, no fee terms apply on qualifying jobs.