
Central Heating Leak Detection in Burpham
A central heating leak in Burpham was located using thermal imaging, a damp meter, and visual inspection, confirming central heating leak detection beneath a living room floor where pressurised water was escaping from a push-fit coupler in the plastic underfloor heating pipework. Found by engineer Grant Corney.




The original leak detection company, est. 2011
Facts
| Location | Burpham |
|---|---|
| County | Surrey |
| Leak Type | Central Heating Leak Detection |
| Property Type | Residential property |
| Detection Method | Thermal Imaging, Damp Meter, Visual Inspection |
| Outcome | Leak found at push-fit coupler beneath living room floor. |
Symptoms

At a property in GU4, the central heating system was losing pressure within the hour of being reset at the boiler, which is located in the utility room. The repeated pressure drops pointed clearly to an active leak somewhere within the heating circuit, but the source was not immediately obvious given the mix of flooring types across the property — suspended floors in most rooms and a solid concrete floor with tiles in the kitchen and dining area.
The clearest visible indicator was water appearing beneath and around the TV cabinet in the living room, rising up through gaps in the floor and accumulating along the skirting boards. This kind of water ingress beneath a suspended floor, combined with rapid pressure loss, called for a structured central heating leak detection approach to accurately identify the source before any intrusive work began.
Because underfloor heating runs through the concrete section of the property, there was a meaningful risk the leak could be buried within the slab — a scenario that would have significant implications for both investigation and repair.
Methods Used

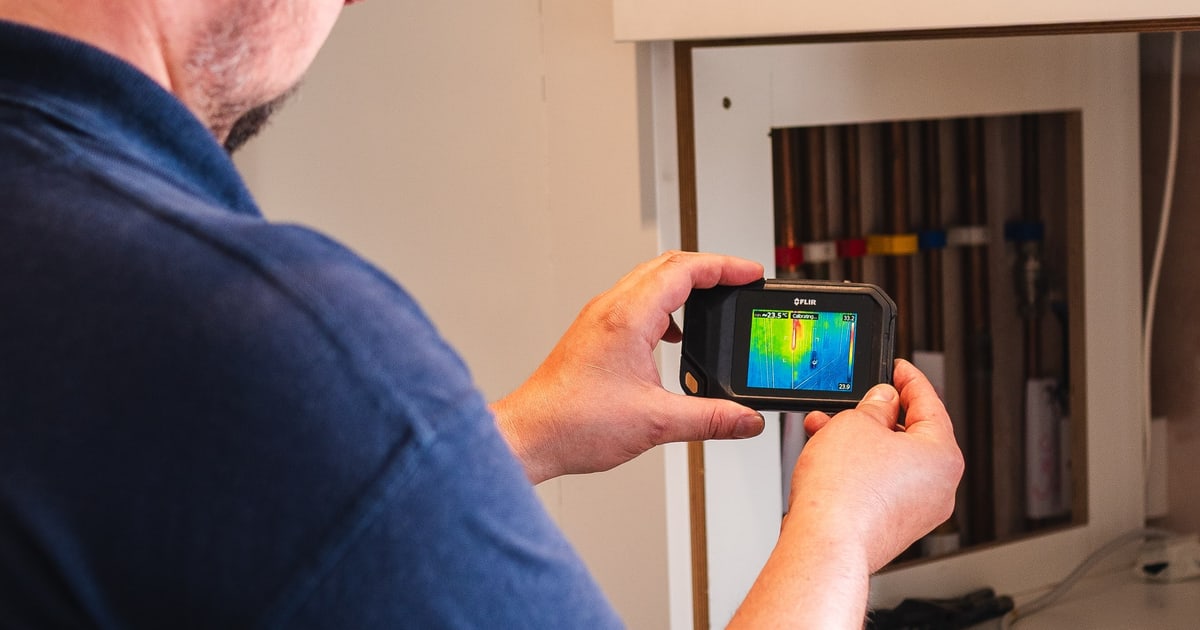
The investigation began with thermal imaging to map the heating pipework across the property. This revealed a heat patch in the same area of the living room where water had been seen surfacing — a strong directional indicator before any floor was touched.
Damp meter readings around the same zone were also elevated, and water was visibly present rather than just registering as a reading.
With thermal imaging and damp meter readings pointing to the same location, the decision was made to lift floor tiles in that area. This is standard practice in central heating leak detection when non-invasive tools have already narrowed the search to a defined zone.
As tiles were removed, water was found trapped beneath. Further exposure of the concrete revealed that the pipework was laid very shallow.
The leak source was then identified: a push-fit coupler where the pipe had slowly backed out of the connection, likely due to ground movement over time.
Thermal Imaging. Used to map all heating pipework across the property, identifying a heat patch in the living room area consistent with an active leak beneath the floor.
Damp Meter. Damp readings were taken around the suspect zone and confirmed elevated moisture levels, consistent with the thermal findings.
Visual Inspection. Water was visibly present at surface level under the TV cabinet, and further visual inspection after tile removal confirmed water trapped beneath the floor and the failed push-fit coupler.
Investigation Process
-
1Boiler pressure loss confirmed
The boiler in the utility room was observed to be dropping pressure within the hour, confirming an active leak within the central heating circuit.
-
2Thermal imaging of pipework
The thermal imaging camera was used to map all heating pipework throughout the property, identifying a heat patch beneath the living room floor in the area where water had been surfacing.
-
3Damp meter readings taken
Damp meter readings around the identified zone were elevated, and water was visibly present — not just registering as a reading.
-
4Floor tiles lifted
Tiles were removed in the targeted area, revealing water trapped beneath the surface and confirming the investigation had pinpointed the correct location.
-
5Concrete exposed and pipework uncovered
The concrete floor was opened up to expose the heating pipework, which was found to be laid at a very shallow depth.
-
6Leak source identified
A push-fit coupler was found where the pipe had slowly backed out of the connection, most likely due to movement in the structure over time — the source of the pressure loss and water ingress.
-
7Repair carried out
A section of pipe was cut at the failed coupler and replaced using crimped fittings on the plastic pipework to form a secure, permanent connection.
-
8System recommissioned
The boiler was topped up and inhibitor added to the system. Pressure was monitored on site with no further loss recorded, and everything was confirmed working before the engineer left.
Result & Outcome

The leak was located beneath the living room floor at a push-fit coupler in the plastic underfloor heating pipework. The pipe had gradually worked its way out of the fitting — likely driven by structural movement — allowing pressurised water to escape steadily into the void beneath the floor, eventually surfacing visibly at the TV cabinet and along the skirting boards. The fact that the pipework was laid at a very shallow depth meant the repair was accessible once the tiles and a section of concrete were removed.
The repair was completed on site using crimped fittings, which provide a mechanically secure joint on plastic pipework and remove the risk of the same connection failure recurring. The boiler was refilled with inhibitor added, and pressure was monitored with no further loss — the system was fully functional before the engineer left. This is the expected outcome in central heating leak detection work where non-invasive methods accurately direct the investigation before any opening up begins, keeping the scope of intrusive work to a minimum.
Given the volume of water that had accumulated beneath the floor and around the skirting boards, a drying-out programme for the affected area is strongly recommended before any reinstatement of flooring takes place.
Suspect a leak at your property?
ADI Leak Detection specialists investigate leaks like this across the UK every day. No find, no fee terms apply on qualifying jobs.