
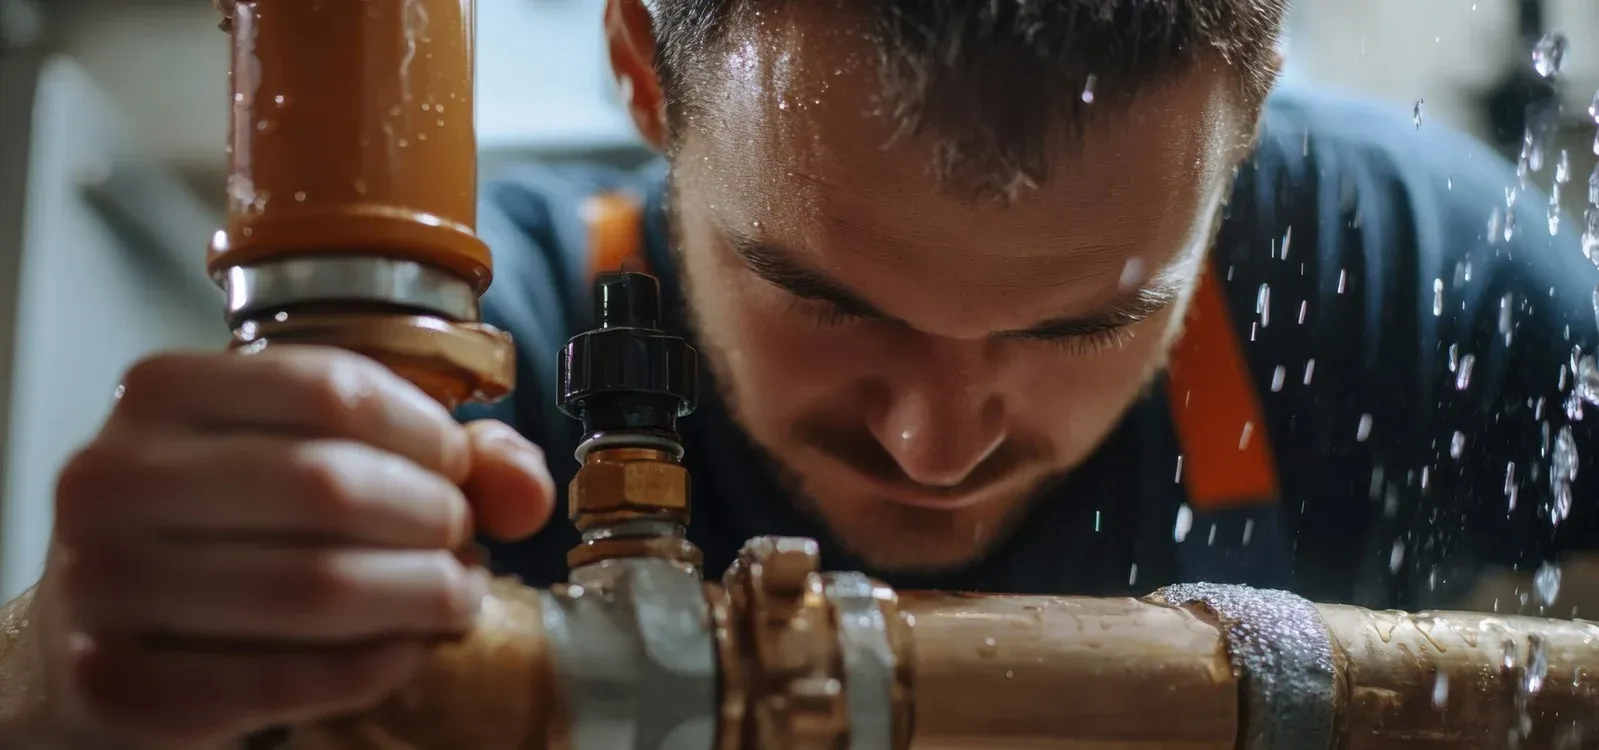
Internal Cold Mains Leak Detection in Neston
A cold mains leak in Neston was located using pressure testing, acoustic listening, acoustic correlation, an endoscope camera, a damp meter, and visual inspection, completing water mains leak detection beneath the internal pipework. The work was carried out by engineer Gabor Weber.
 CIPHE accredited
 WIAPS member


Facts
| Location | Neston |
|---|---|
| County | Cheshire |
| Leak Type | Water Mains Leak Detection |
| Property Type | Residential property |
| Detection Method | Pressure Testing, Acoustic Listening, Acoustic Correlation, Endoscope Camera, Damp Meter, Visual Inspection |
| Outcome | Two leaks found under corridor and bathroom floors, both repaired. |
Symptoms

With stop cock locations unconfirmed and no clear external indicators, this was not a straightforward internal leak detection job from the outset. The noise from the cylinder pointed toward the hot feed pipework, but the source and extent of any leak remained entirely unclear until a full investigation could be carried out.
Methods Used

An endoscope camera was introduced through a gap behind the bathroom tiles to inspect the pipework routing and check for isolation valves before any floor work began. The full investigation combined pressure testing, acoustic correlation and camera inspection to work through the problem systematically.
Pressure Testing. Applied to the hot feed pipework after isolation; the initial failure confirmed a leak was present, and a second failure after the first repair confirmed a further leak elsewhere on the system.
Acoustic Listening. Used with an acoustic microphone to scan the corridor and bathroom floors, detecting anomalies in both locations that directed the floor exposures.
Acoustic Correlation. Supported the acoustic survey to narrow down the precise positions of the anomalies beneath the tiled and screed floors.
Endoscope Camera. Passed through a gap behind the bathroom tiles to trace the blue poly pipework and check for any isolation valves before committing to floor access.
Damp Meter. Used to assess moisture levels in the exposed areas, consistent with the wet plywood boxing found at both leak locations.
Visual Inspection. Carried out throughout — confirming no visible surface evidence on arrival, then verifying the wet plywood boxing and leaking pipework once the floors were opened.
Investigation Process
-
1Stop cock locations traced
On arrival the internal and external stop cock locations were both unknown. Time was spent tracing and identifying both before any further work could proceed.
-
2Water softener used for isolation
The internal stop cock could not be readily accessed, so the water softener was isolated instead. This caused the cylinder noise to stop, providing a working isolation point.
-
3Endoscope camera deployed behind bathroom tiles
A camera was introduced through a gap behind the bathroom tiles to inspect the blue poly pipework and confirm whether any isolation valves were present — none were found.
-
4Pipework traced to loft
The pipework was followed from the bathroom area across to the loft in an attempt to locate the internal stop cock, but it was not found there.
-
5Pressure test on hot feed pipework — first failure
A pressure test was applied to the hot feed pipework. The test failed, confirming a leak was present somewhere on the system.
-
6Acoustic anomaly detected in corridor
The acoustic microphone was used to scan the floors and detected an anomaly beneath the corridor floor tiles.
-
7Corridor floor opened — first leak found
The corridor tiles and screed were exposed, revealing a plywood box containing pipework that was very wet. A leaking 15mm copper pipe was found and replaced with new copper pipe and fittings.
-
8Pressure test repeated — second failure
Following the first repair, the pipework was retested. It failed again, indicating a second leak remained on the system.
-
9Acoustic anomaly detected in bathroom
Further acoustic scanning identified a second anomaly beneath the bathroom floor tiles.
-
10Bathroom floor opened — second leak found
The bathroom tiles and screed were exposed, revealing a second wet plywood box. A leaking 22mm copper tee soldered fitting was found and replaced with new copper pipe and fittings.
-
11Final pressure test passed
The pipework was tested at 3 bar for 20 minutes. The test passed, confirming no further leaks were present on the system at the time of testing.
Result & Outcome

The exposed floor areas should be left open to allow the screed and subfloor to dry out fully before any reinstatement. The customer has also been advised to confirm with the water board the location of the external main stop cock, and to have the internal main stop cock properly addressed once identified.
Suspect a leak at your property?
ADI Leak Detection specialists investigate leaks like this across the UK every day. No find, no fee terms apply on qualifying jobs.