
Central Heating Leak Detection in Wroxham
A central heating leak in Wroxham was located using a thermal imaging camera, damp meter, pressure testing kit, and tracer gas detector, with central heating leak detection confirming two pipes in contact beneath the bedroom floor as the cause of pressure loss. Found by engineer Ferenc Gulyas.




The original leak detection company, est. 2011
Facts
| Location | Wroxham |
|---|---|
| Leak Type | Central Heating Leak Detection |
| Property Type | Residential property |
| Detection Method | Thermal Imaging Camera, Damp Meter, Pressure Testing Kit, Tracer Gas Detector |
| Outcome | Leak found beneath small bedroom floor, pipes replaced. |
Symptoms
No visible evidence of a leak was present on arrival. With pressure dropping in the system and no obvious source, this was a case requiring methodical central heating leak detection — working through the property systematically to establish where the loss was occurring beneath a concrete substrate.
Methods Used

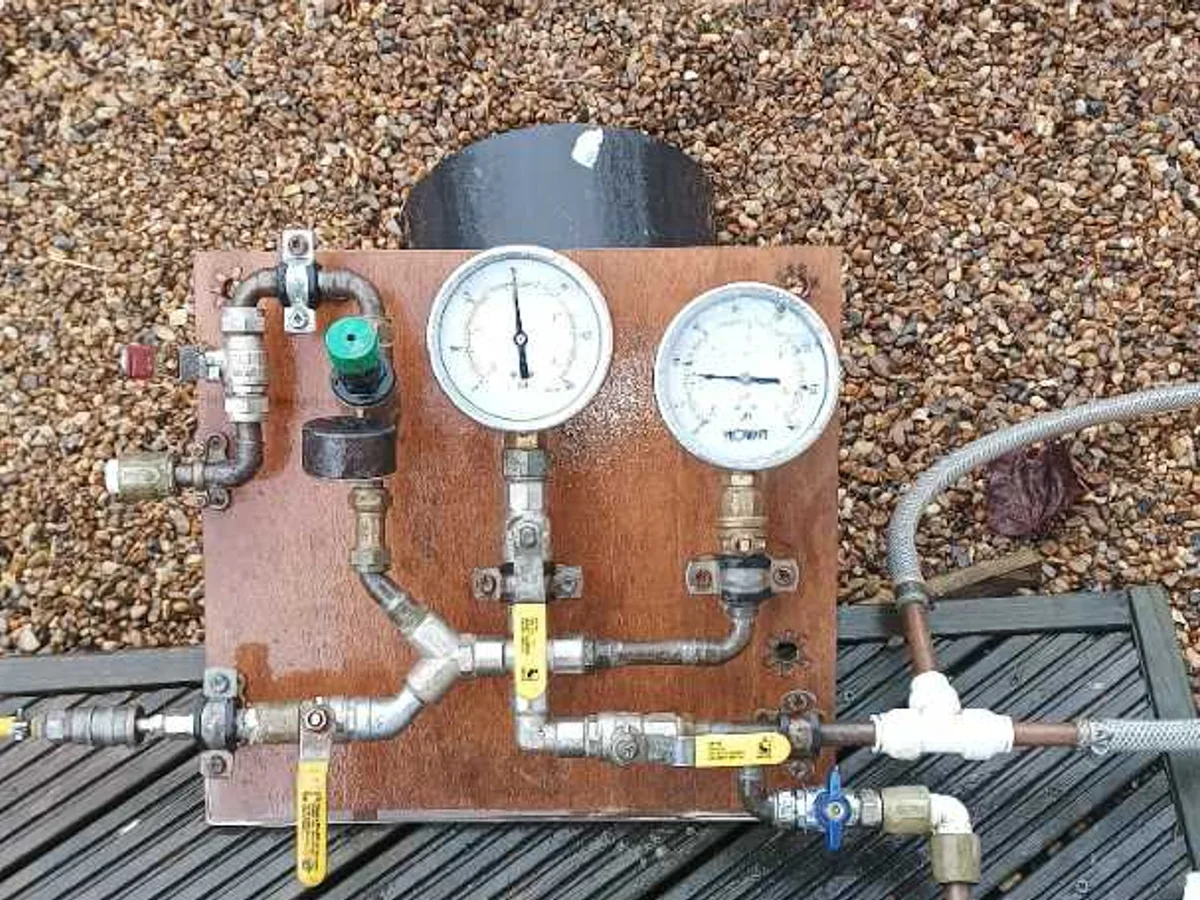
To confirm and isolate the leak, the system was connected to a pressure test kit via one of two external drain-off points identified by the customer, both tied into the heating pipework through the external wall. Once the system was drained, tracer gas was introduced throughout the circuit.
The tracer gas detector was used to sweep the floor and pinpoint the precise leak location — a standard and reliable method in central heating leak detection when the pipework is buried beneath concrete.
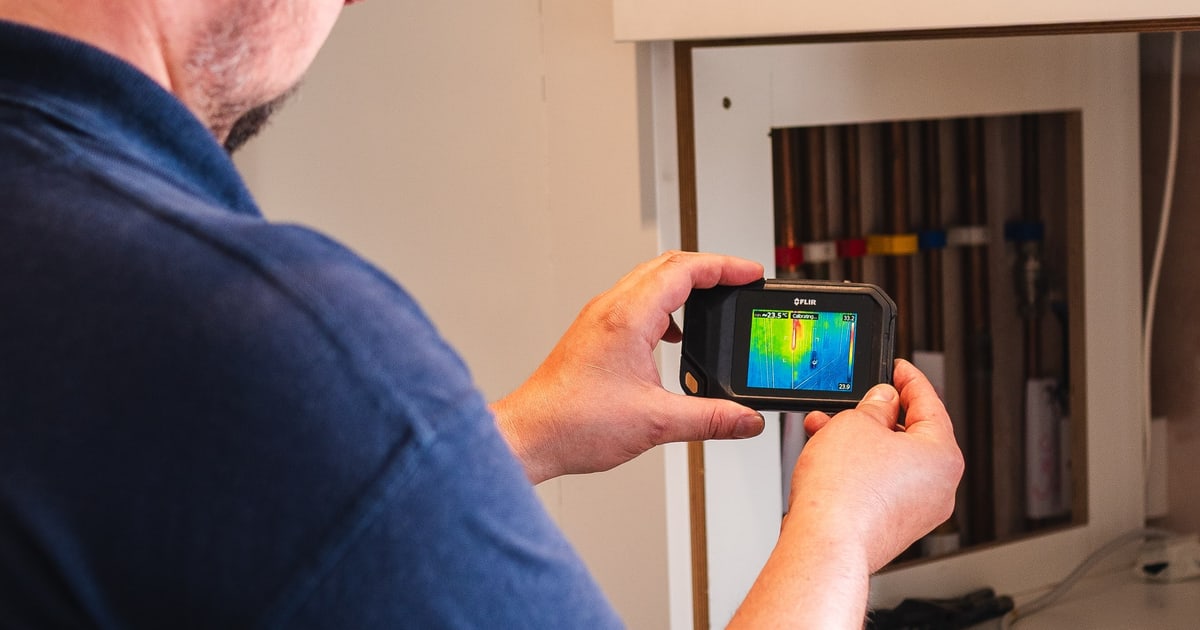
Thermal Imaging Camera. Used to identify and trace the heating pipe runs beneath the concrete floor before any investigative work began, establishing the circuit layout across the property.
Damp Meter. Used to probe surface moisture levels at multiple points, identifying damp readings in front of the kitchen oven and in the bathroom beneath the radiator.
Pressure Testing Kit. Connected to one of the external drain-off points to pressurise and assess the heating circuit, confirming a leak was present within the system pipework.
Tracer Gas Detector. Used to sweep the concrete floor after the system was filled with tracer gas, pinpointing the precise leak location in the small bedroom.
Investigation Process
-
1Initial Assessment
The engineer arrived and confirmed no visible evidence of a leak anywhere in the property. The layout was noted: a loft-mounted combi boiler, concrete floors throughout the ground floor, 11 radiators, and a kitchen plinth heater.
-
2Thermal Imaging Survey
A thermal imaging camera was used to map the heating pipe runs beneath the concrete flooring, giving a clear picture of the circuit layout before any further investigation.
-
3Damp Meter Investigation
A damp meter was used to check moisture levels across the floor surface. Damp readings were found in two locations: in the kitchen in front of the oven, and in the bathroom beneath the radiator.
-
4Pressure Test Connected
The customer indicated two external drain-off points connected to the heating pipework. A pressure test kit was attached to one of these points to pressurise the circuit and confirm the presence of a leak.
-
5System Drained and Filled with Tracer Gas
The heating system was drained down and then filled with tracer gas throughout the circuit in preparation for precise leak location.
-
6Leak Located in Small Bedroom
The tracer gas detector identified a leak location in the small bedroom. No other leak locations were indicated elsewhere in the circuit.
-
7Floor Exposed and Leak Confirmed
The carpet and section of concrete floor in the small bedroom were carefully lifted. Two heating pipes were found rubbing against each other at the leak point, with the friction having caused the breach.
-
8Repair Carried Out
The leaking section of pipework was removed and replaced with new copper pipe and soldered fittings. The system was retested under pressure and passed, confirming the repair was sound.
-
9System Restored
An inhibitor was added to the heating system, which was then refilled and restored to full working order across the property. The tracer gas detector confirmed no further leak locations were present.
Result & Outcome

An inhibitor was introduced to the system before it was refilled and returned to full working order. The customer was kept informed throughout and the cause of the pressure loss — two pipes in contact beneath the bedroom floor — was clearly explained. The concrete floor in the small bedroom was the only area requiring access.
Suspect a leak at your property?
ADI Leak Detection specialists investigate leaks like this across the UK every day. No find, no fee terms apply on qualifying jobs.