
Central Heating Leak Detection in Southwater
A central heating leak in Southwater was located using thermal imaging, a damp meter, and tracer gas, with central heating leak detection confirming the fault beneath the bathroom floor and limiting the excavation required to a precise area. Found by engineer Kyle Storkey.




The original leak detection company, est. 2011
Facts
| Location | Southwater |
|---|---|
| County | West Sussex |
| Leak Type | Central Heating Leak Detection |
| Property Type | Residential property |
| Detection Method | Thermal Imaging, Damp Meter, Tracer Gas |
| Outcome | Leak found on 22mm pipework beneath bathroom floor. |
Symptoms

The property in RH13 has an oil-fired boiler located in the utility room. When the heating was running, the system pressure was found to be below one bar — a clear sign that water was escaping from the central heating circuit somewhere within the property.
Topping the system up to two bar confirmed the issue: pressure dropped again within ten minutes, indicating an active leak.
With the leak not immediately visible and the pressure loss pointing to a concealed fault, a full central heating leak detection survey was arranged to trace the source without unnecessary damage to the property.
Methods Used

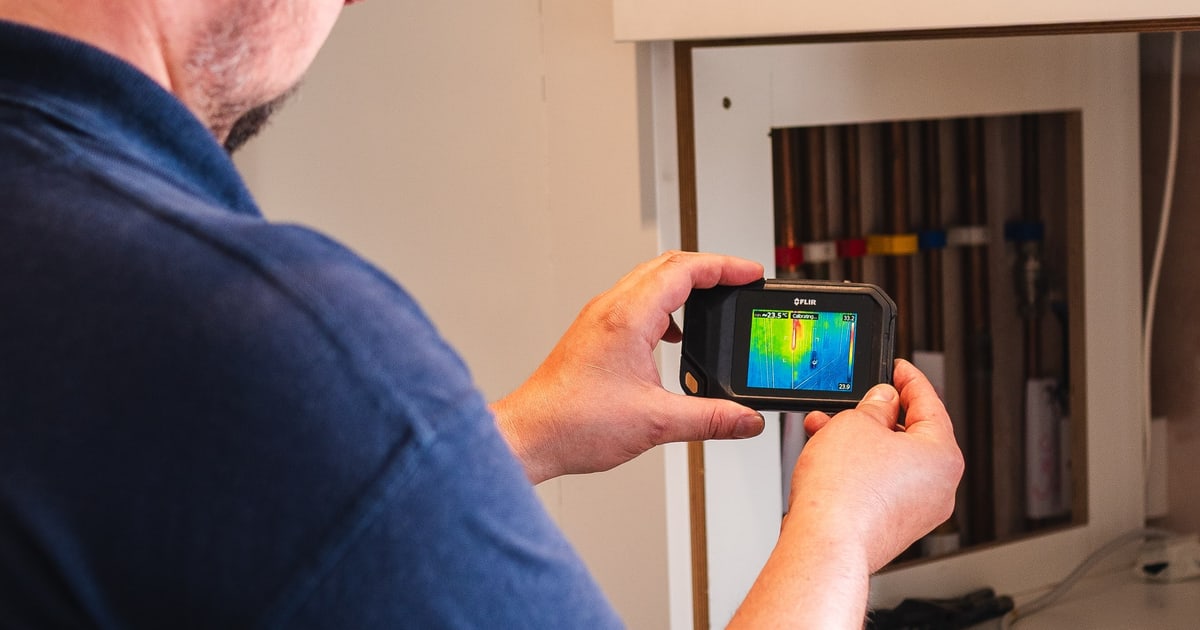
The central heating leak detection survey was conducted in stages, working from non-invasive methods through to targeted access. Thermal imaging was used first to map the pipework layout beneath floors and behind walls.
Moisture mapping of the downstairs rooms then identified elevated readings in the downstairs bathroom, and water staining was found on the concrete slab beneath the carpet in the adjacent lounge once it was pulled back.
Tracer gas was introduced into the central heating pipework via the hallway radiator and brought to one bar pressure. The system was then monitored throughout the property using an electronic gas sensor.
A large concentration of gas was detected in the corner of the bathroom, directing the investigation to that specific area. The toilet was removed to allow access to the tiled floor and concrete beneath, where the leak source was confirmed on the 22mm pipework.
Thermal Imaging. Used to identify the network of central heating pipework running beneath the floors and through the walls of the property.
Damp Meter. Used to moisture-map the downstairs rooms, locating elevated readings in the downstairs bathroom that directed the investigation.
Tracer Gas. Introduced through the hallway radiator into the central heating pipework at one bar pressure, then detected escaping through the bathroom floor to pinpoint the leak on the 22mm pipework.
Investigation Process
-
1Boiler and pressure check
The oil-fired boiler in the utility room was inspected and system pressure was found to be below one bar with the heating running. The system was topped up to two bar.
-
2Pressure drop confirmed
A pressure drop was recorded within ten minutes of topping up the system, confirming an active leak in the central heating circuit.
-
3Thermal imaging
Thermal imaging was carried out across the property to establish the layout and routing of the central heating pipework.
-
4Moisture mapping
A damp meter was used to map moisture levels across the downstairs rooms, with elevated readings found in the downstairs bathroom.
-
5Carpet lifted in lounge
The carpet in the carpeted lounge adjacent to the bathroom was pulled back, revealing water staining on the concrete slab beneath.
-
6System drained and tracer gas inserted
The central heating system was drained down and tracer gas was introduced through the hallway radiator, pressurised to one bar.
-
7Gas detection survey
An electronic gas sensor was used to monitor the property for escaping tracer gas, with a large concentration detected in the corner of the bathroom.
-
8Toilet removed and floor accessed
The toilet was removed and the tiled floor and concrete beneath were broken out to gain access to the pipework below.
-
9Leak source identified
The leak was found on the 22mm central heating pipework beneath the bathroom floor. A temporary repair was carried out using a 22mm x 15mm reducer, 15mm fittings, and 15mm plastic pipe.
Result & Outcome
The leak was located on the 22mm central heating pipework beneath the bathroom floor, accessed after the toilet was removed and the tiled and concrete floor was broken out. The tracer gas survey provided a precise location, limiting the area of access required and avoiding speculative damage elsewhere in the property.
A temporary repair was completed using a 22mm x 15mm reducer, 15mm fittings, and 15mm plastic pipe. This is not a permanent solution — a permanent repair in copper will be required. The drain-off valve at the back of the utility room also needs replacing. Both the downstairs bathroom and the adjacent lounge will need to be dried out before any reinstatement work takes place.
For a central heating leak detection job involving concealed pipework beneath a tiled concrete floor, the staged approach — thermal imaging, moisture mapping, then tracer gas — avoided unnecessary excavation and delivered a confirmed leak location before any access was made.
Suspect a leak at your property?
ADI Leak Detection specialists investigate leaks like this across the UK every day. No find, no fee terms apply on qualifying jobs.